One-2-Many - 1. Basic Setup

Active Inbound One-2-Many From Teleproject UK is a versatile call routing solution that routes call to either to a single destination or multiple destinations as a hunt group.
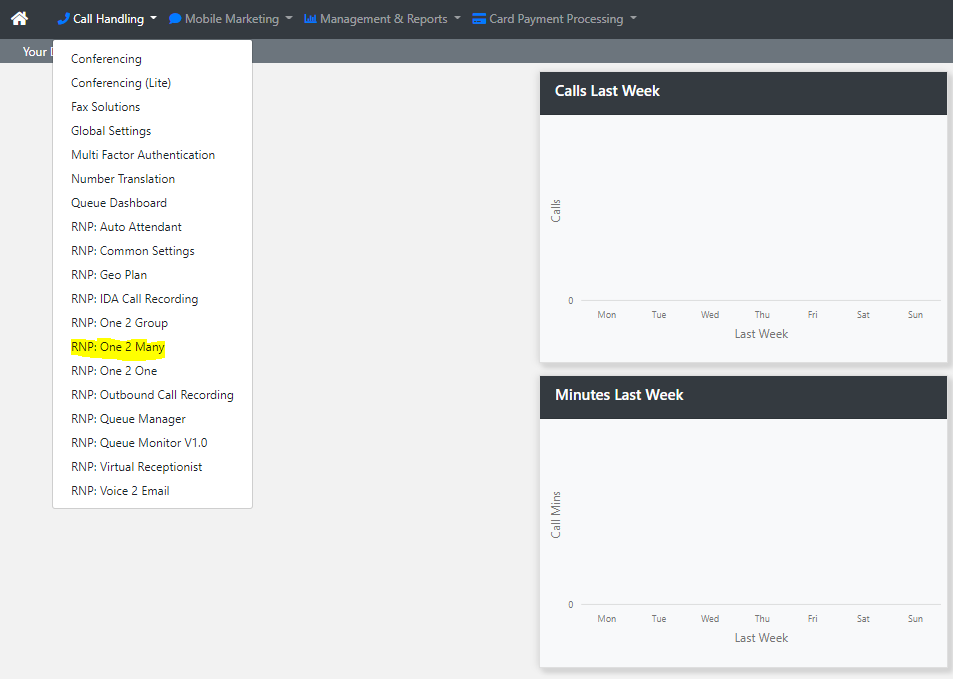
Log into your Active Inbound account and Select One-2-Many from the call handling menu.
Select Configure next to your number.

If you need to rename the number click update next to Description.
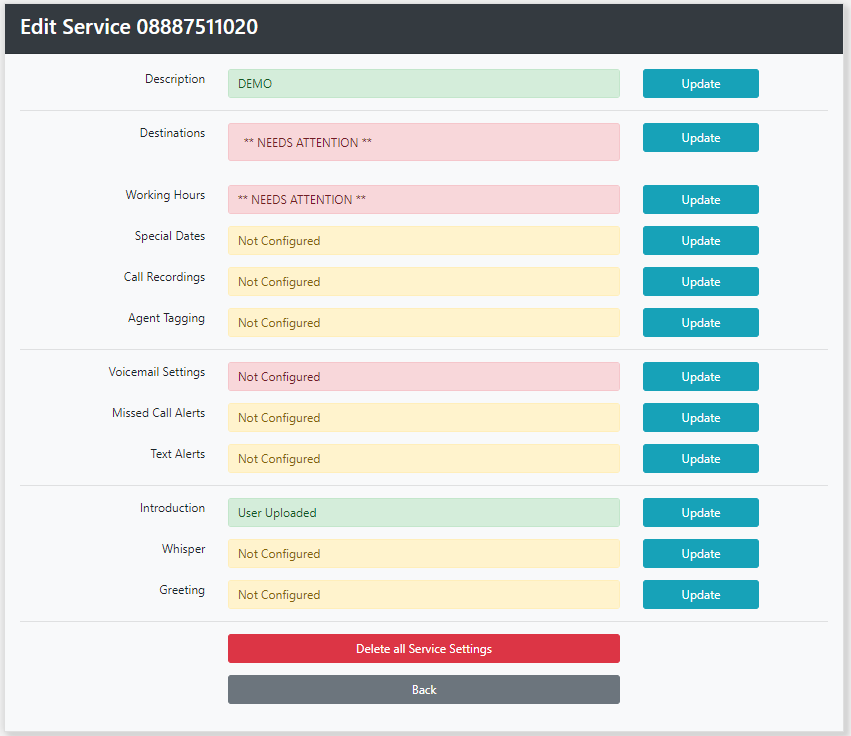
The next stage is to input the destinations. Click update next to Destinations.
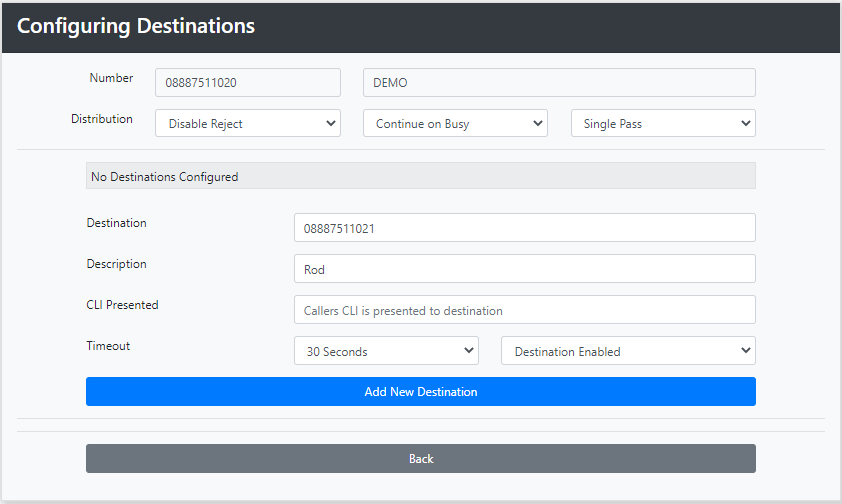
In Destinations enter the number that is to receive calls.
Then enter a description for the destination.
If you leave CLI Presented blank, the callers number will appear on the destinations handset. If another number is inserted that will appear instead.
From the Timeout drop down select the timeout you require. This can be between 3 seconds and 120 seconds. If your destinations are mobiles set this to 15 seconds to avoid the call going to the mobile voicemail.
To disable a destination click on Destination Enabled.
Repeat this process to add additional destinations.

At the top there are three other options.
Distribution - you can select Allow Reject. This is particularly useful if the destinations are mobiles as this prevents calls hitting the mobile voicemail. To answer the call the destination has to press 1. If 1 isn't pressed the call routes to the next destination without hitting the mobile voicemail.
Continue on busy routes the call to the next destination if a busy tone is detected. Change this to Stop on busy to send the call to voicemail if the destination is busy. This is particularly useful if you have your Landline as one destination and your mobile as the other.
Single Pass means that the call will try each destination once only. Change this to Loop Destinations to continually try the destinations. Note: Use Loop Destinations cautiously as this may result in high inbound call charges.
You can also change the order that the destinations will ring.

Click on the up or down arrows to move the destination.
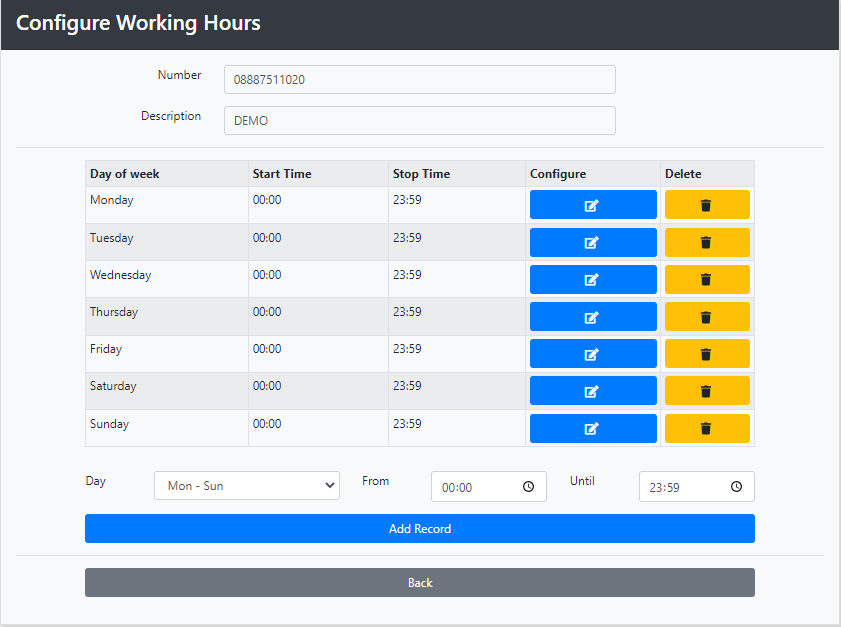
Click the Back Button and then click update next to Working Hours.
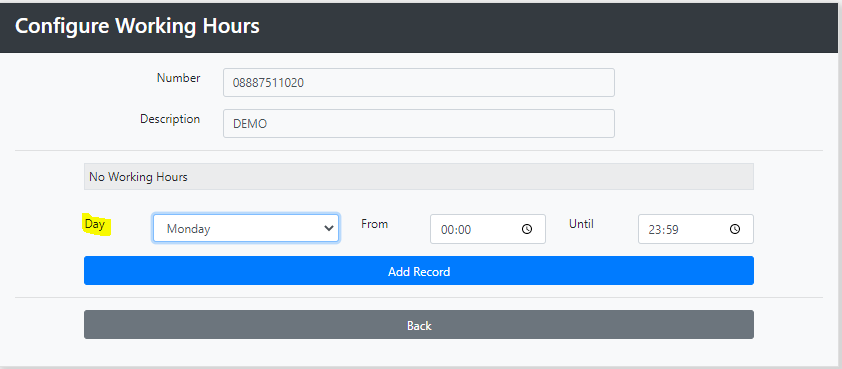
We are going to set the working hours to be open 24/7, so from the Drop Down list next to Day select Monday to Sunday then click Update.
See Also: