Active Pay: Manual Database Management

This user guide will demonstrate how to upload and edit Database Records on your ActivePay Assist service. If you don't currently have a database setup please contact your Account Manager.
There are four methods of uploading data onto the platform.
- Manually Add records.
- Upload from a file
- Upload via SFPT
- Upload via API. You can view the API user guide Here
Database Format
We will use the database structure that we setup earlier which can be found Here
Our database contains 5 columns:
- Invoice Number
- Date of Birth
- Balance Owing
- Maximum Amount
- Minimum Amount
In this scenario the customer can pay the maximum; the minimum; or an amount in between.
Normally the values in the Amount Column will be in pence, so £5.00 needs to be displayed as 500.
An example is as follows:

If any of your rows contain numbers starting with zero, i.e. Dates, you will need to manipulate the relevant columns in Excel so the leading zeros are retained.

In this example column B contains the date 1st January 2000, however excel removes the leading zero.
To change the format select the whole column, then select Number.
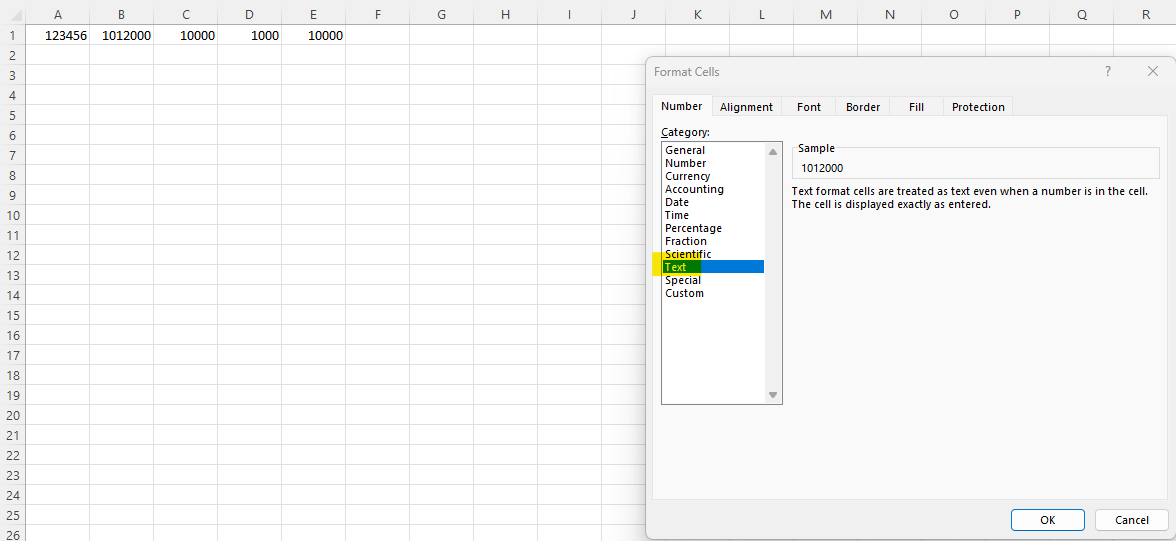
Change the Category to Text and press OK.
Insert the zero in front of the date.
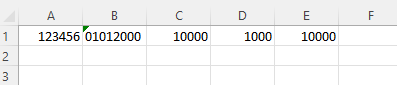
The date field is now in the correct format.
Uploading the Database file.
Login to the Active Inbound portal using the URL https://activeinbound.telecomstats.co.uk/
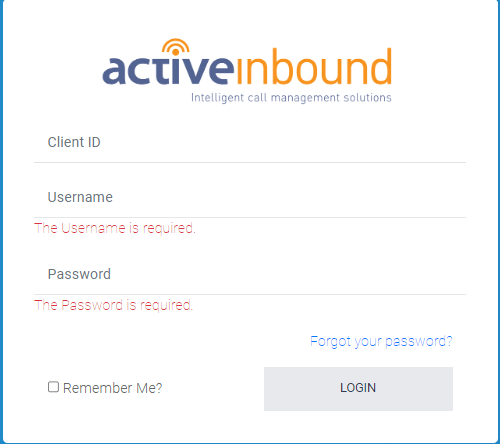
Enter your 4 Digit Client ID; Your Username and Password and press Login.
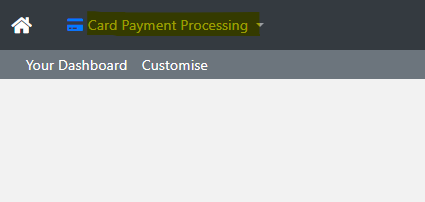
Select Card Payment Processing then Customer Records

Then select your Database from the drop down.
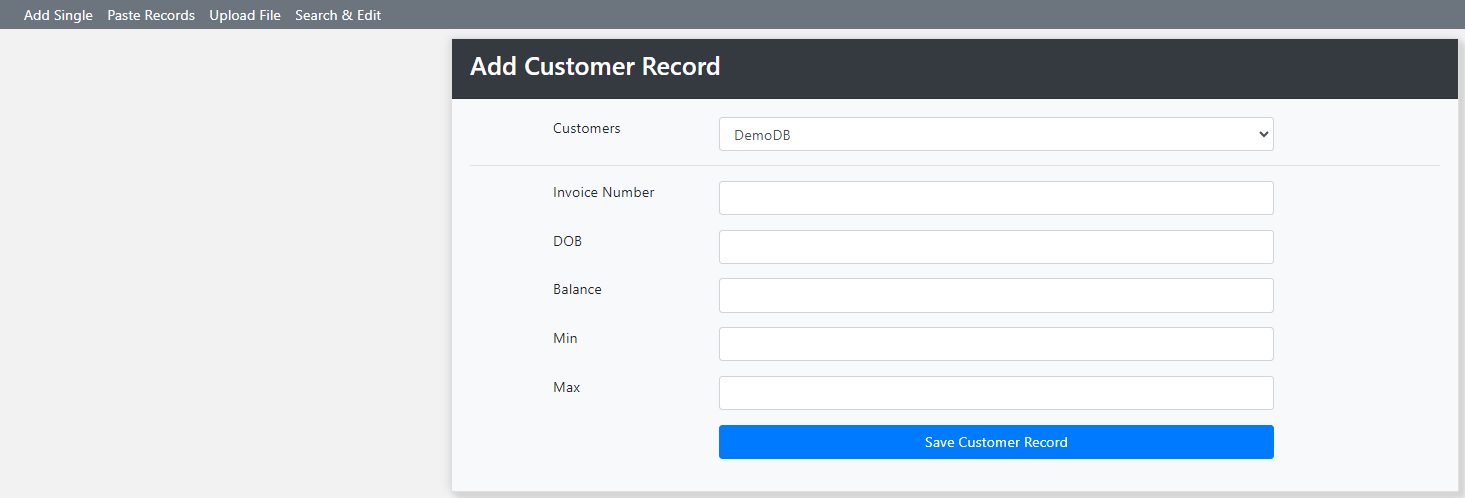
You can now manually enter a record. Press Save Customer Record when complete.
We will now manually upload a database.
Select Upload File
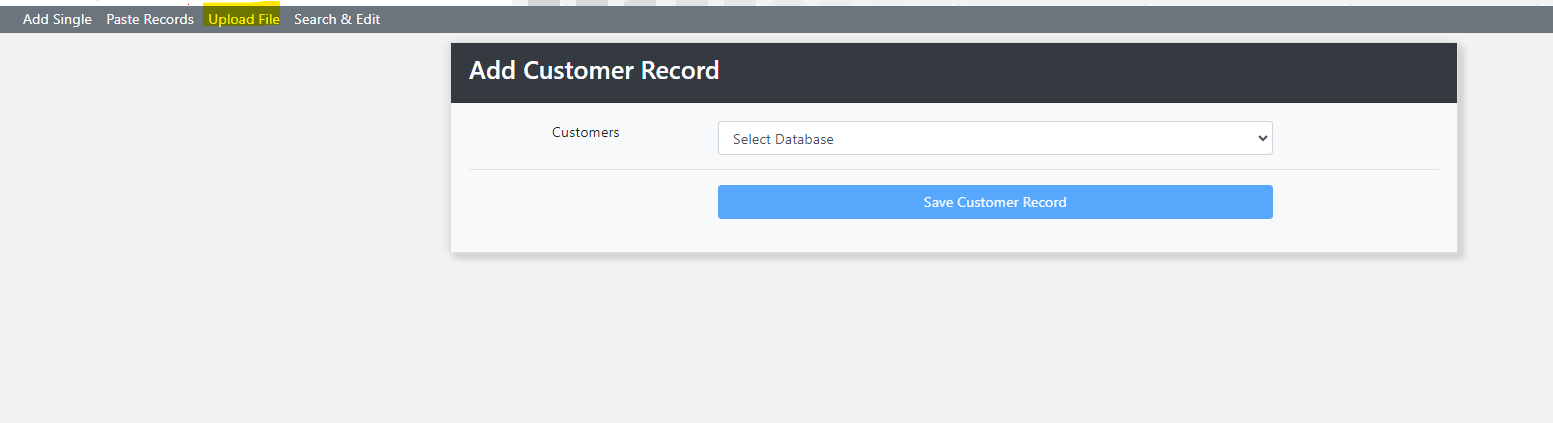
You now have some options:
Customers: Select your Database from the drop down.
Fields: This contains the fields in the database you selected.
Update Method: From the drop down select either Add new data to existing records; or Replace existing records with new data.
Upload: Click on Choose File and select your file from your PC or Server.
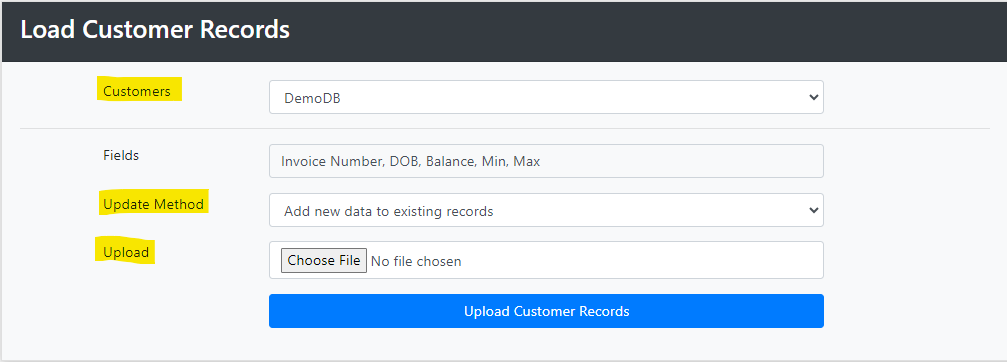
When you have selected your file click on Upload Customer Records.
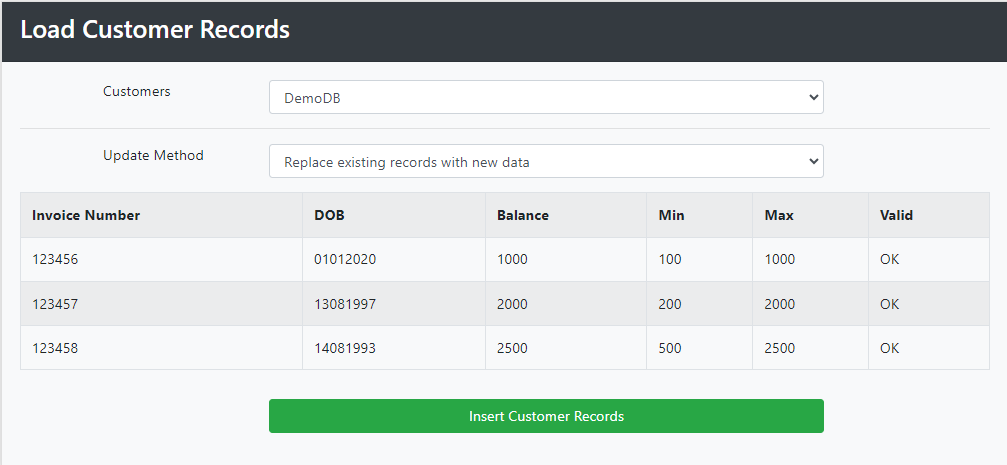
You can now check your data. Any data errors will be displayed in the Valid column.
If you are happy with everything click Insert Customer Records
Editing Data
Select Search & Edit.
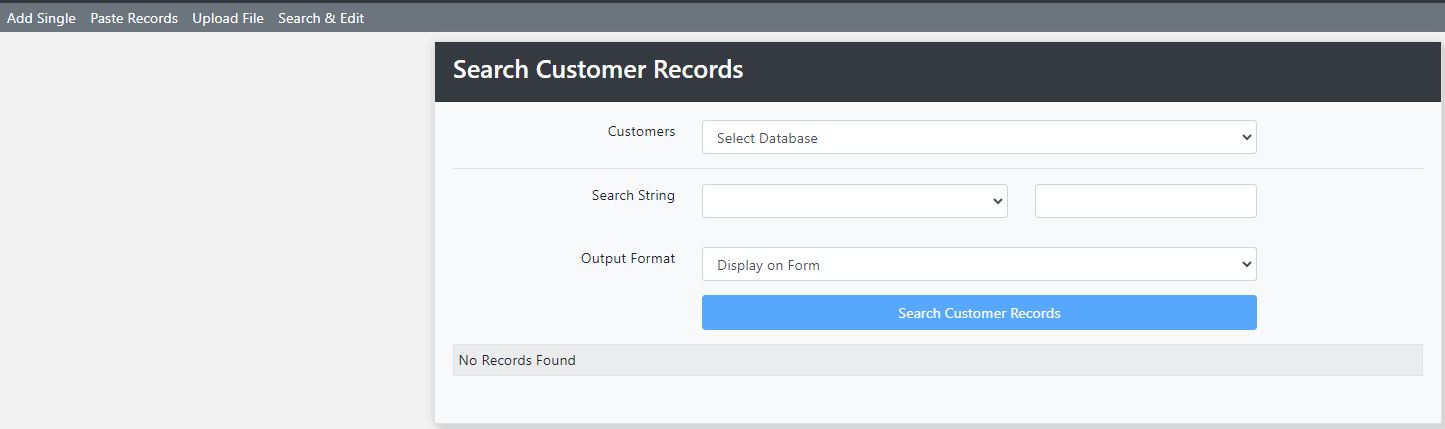
Select Database you wish to search, and in the Search String field select the field from the drop down, and then enter your search string.
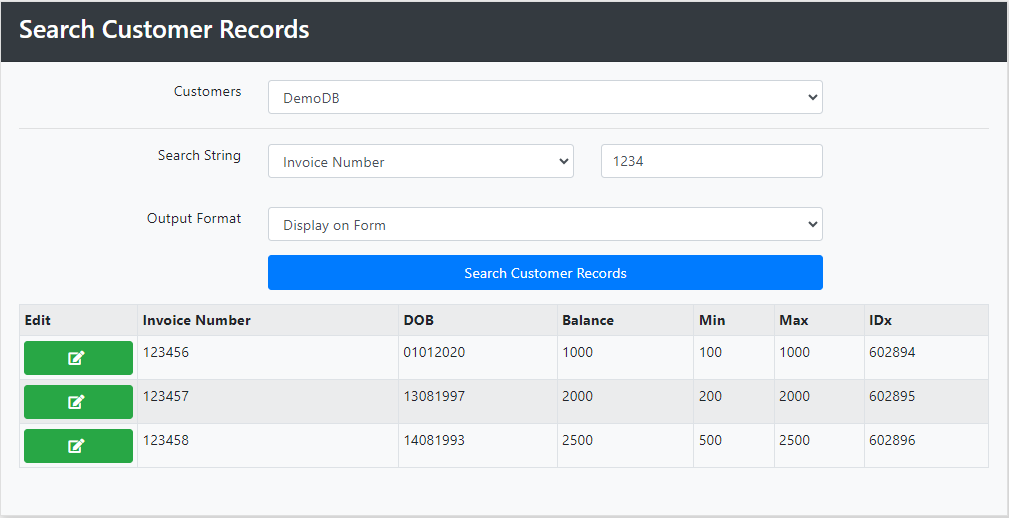
Click edit next to the record you wish to edit.
You can now edit the data. Click Save when you have finished.
You can also delete the record by clicking on Deleted Customer Record.