Queuing - 1. Queue Configuration

Active Inbound from Teleproject UK has a comprehensive Queuing solution.
Select RNP Queue Manager from the Call Handling drop down.
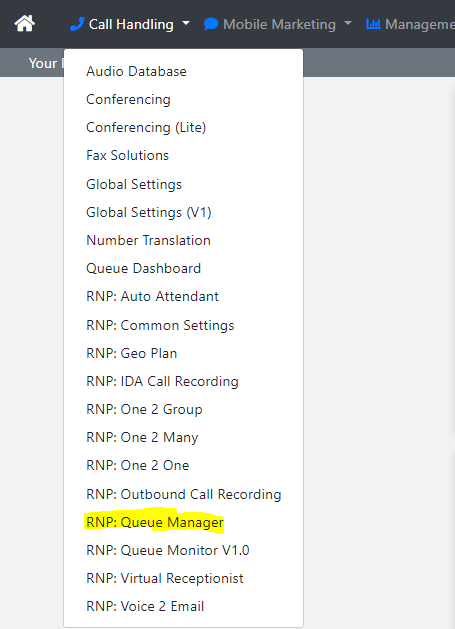
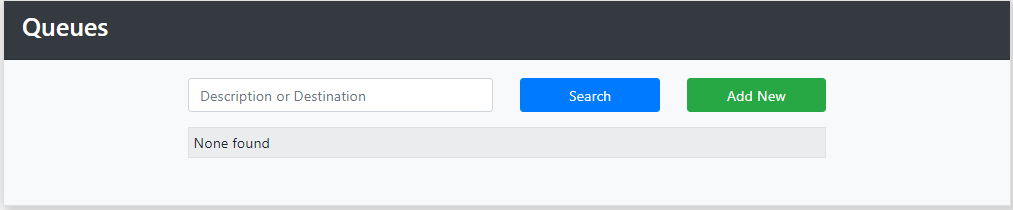
Then select Add New
We will name this Queue Demo Queue
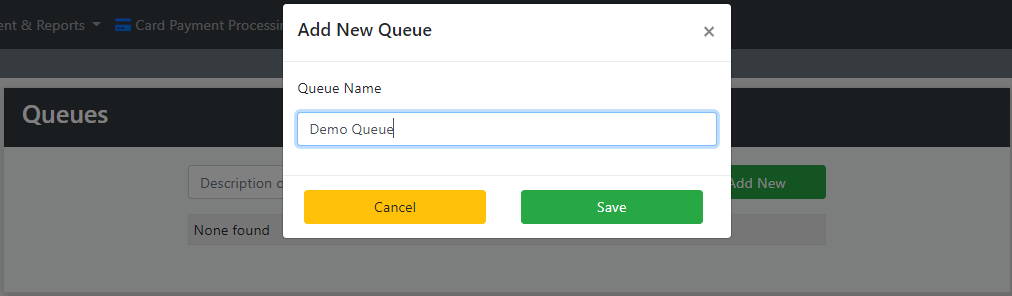
Then select save.
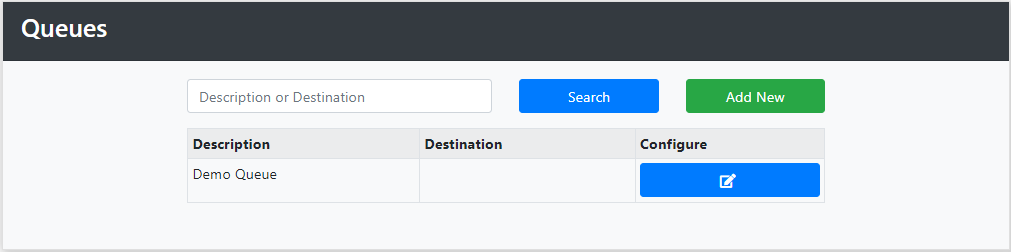
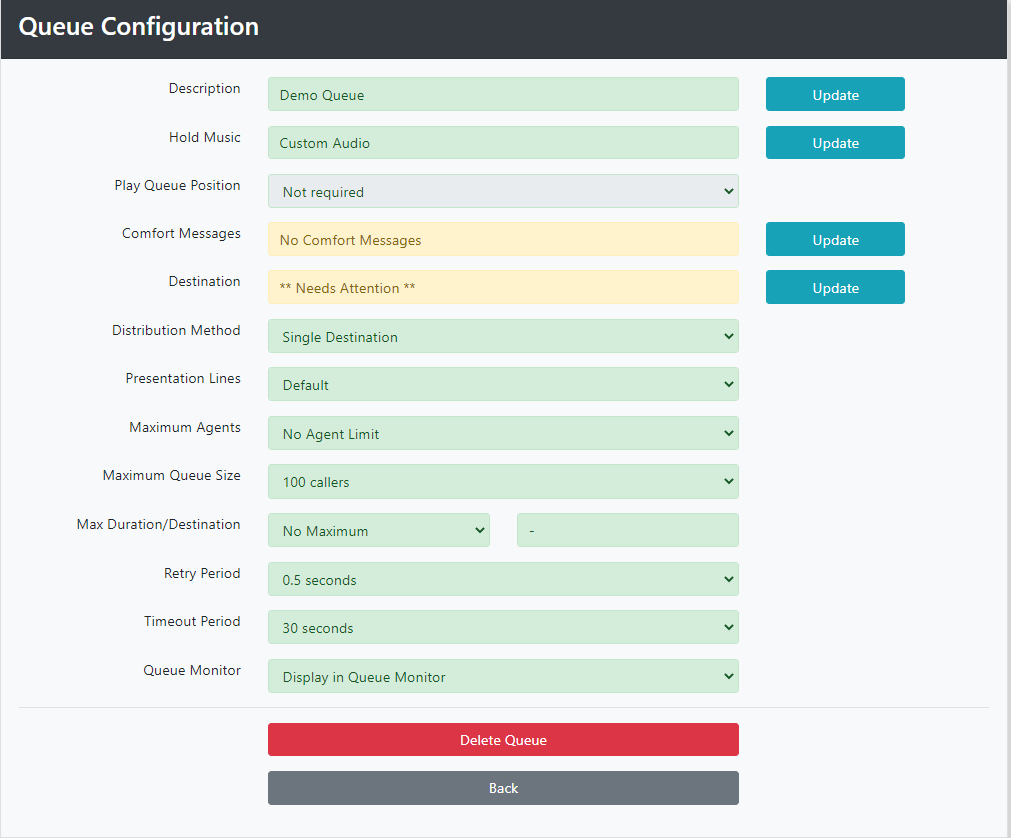
We will now configure the Queue. Select the blue Configure button.
Hold Music
First we will configure the Hold Music by clicking Update.
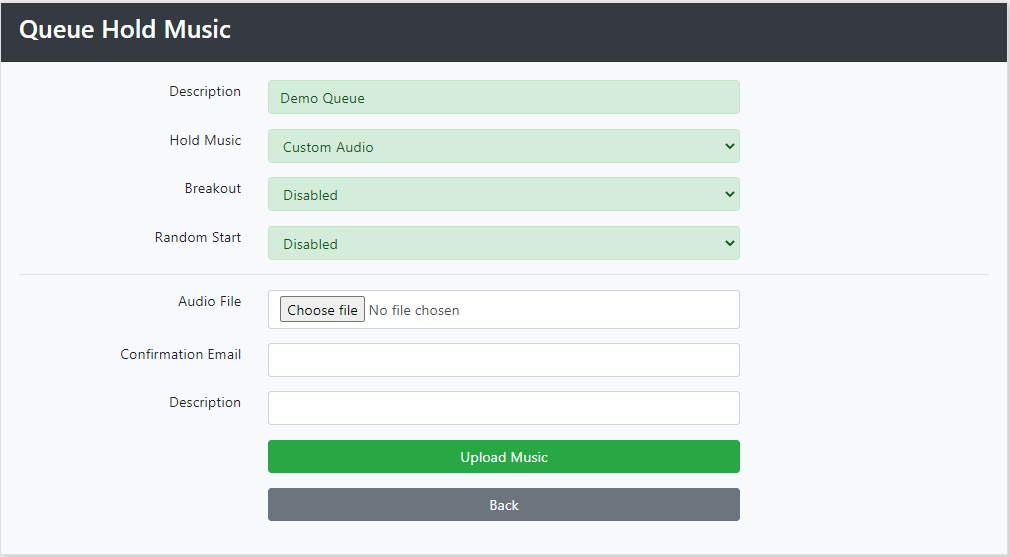
From the Hold Music drop down you can choose from a selection of Royalty Free Sound files; or load your own Custom Audio File (MP3 Format); or simply play out Ringing. For this example we will select Ambient and press save.
(If you select Ringing It is recommended that you play out an Introductory Message before the call connects to the queue.)
You now have the option to play the caller the Queue Position. Select from the drop down. The default setting is Not Required.
Comfort Messages
We will now configure comfort messages. These play out to the caller whilst the call is held in the queue. Comfort Messages are optional.
Click update next to Comfort Messages.
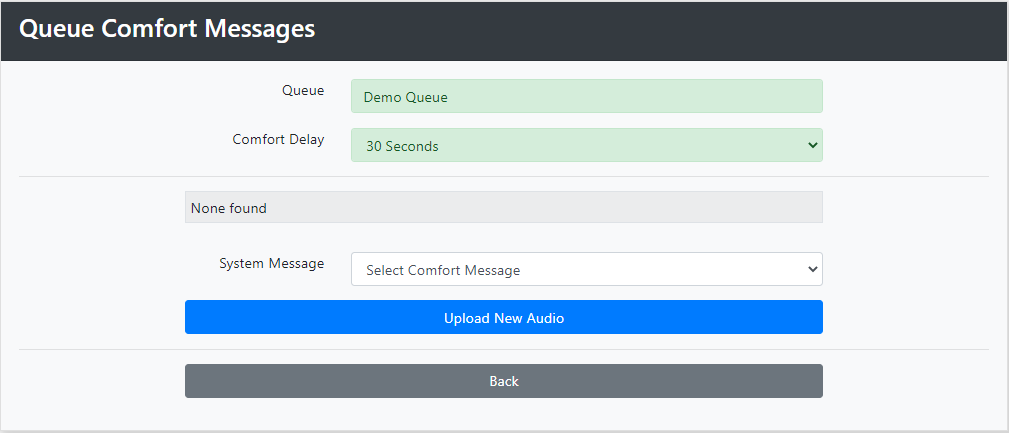
We will now set the Comfort Delay from the drop down.
You have the option of:
- 15 Seconds
- 30 Seconds
- 45 Seconds
- 1 Minute
- 2 Minutes
We will now choose your Comfort Message.
From the drop down you can choose from some pre-recorded system messages. We will select Held in a Queue and Leave a Voicemail.
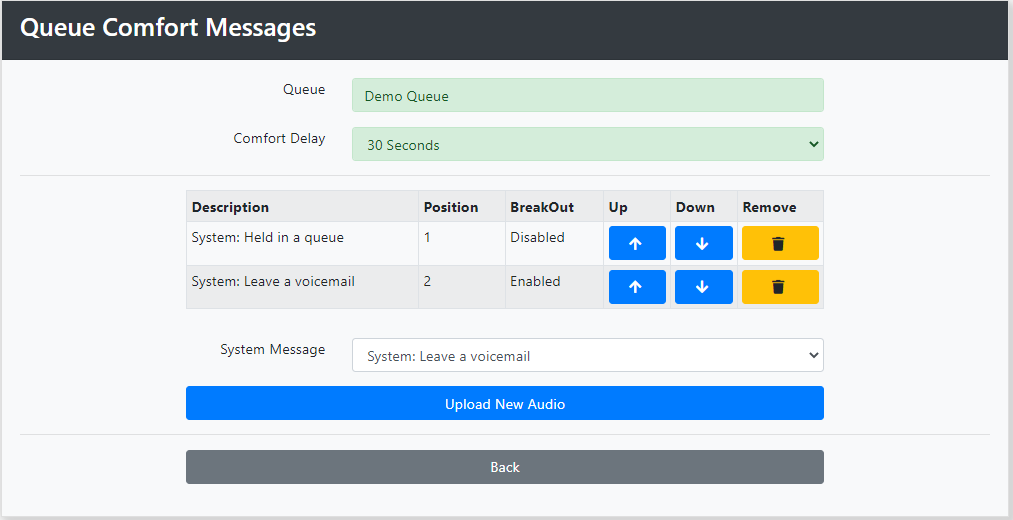
To delete your comfort message just click the yellow remove button.
You can also upload your own sound files for use as a Comfort Message. Just click on blue Upload Audio and select the files from your PC or Network. If you wish to enable the caller to press 1 to leave the queue and leave a message select enable from the Queue Breakouts drop down.
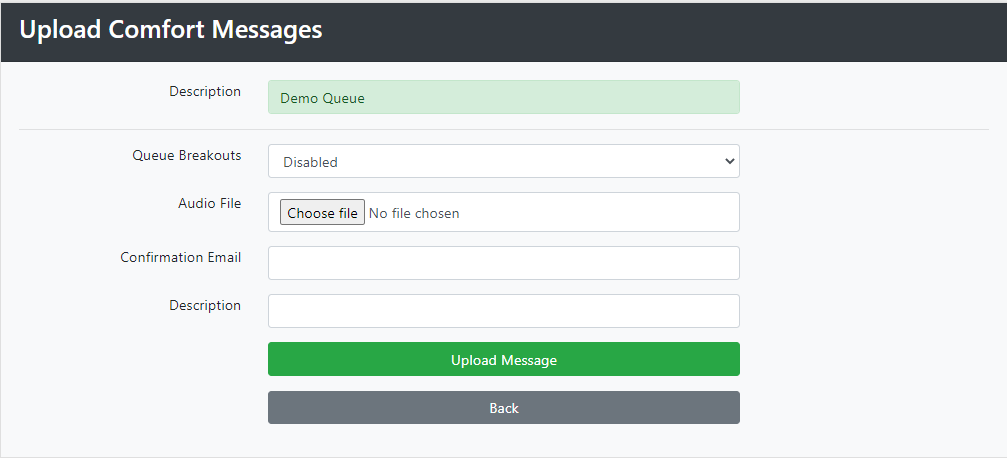
Enter your Email address and provide a description for the file. Click Upload Message.
Your messages will now appear in the System Messages drop down (above), and can be allocated to the service.
We will now configure the Distribution Method for the queue destinations.
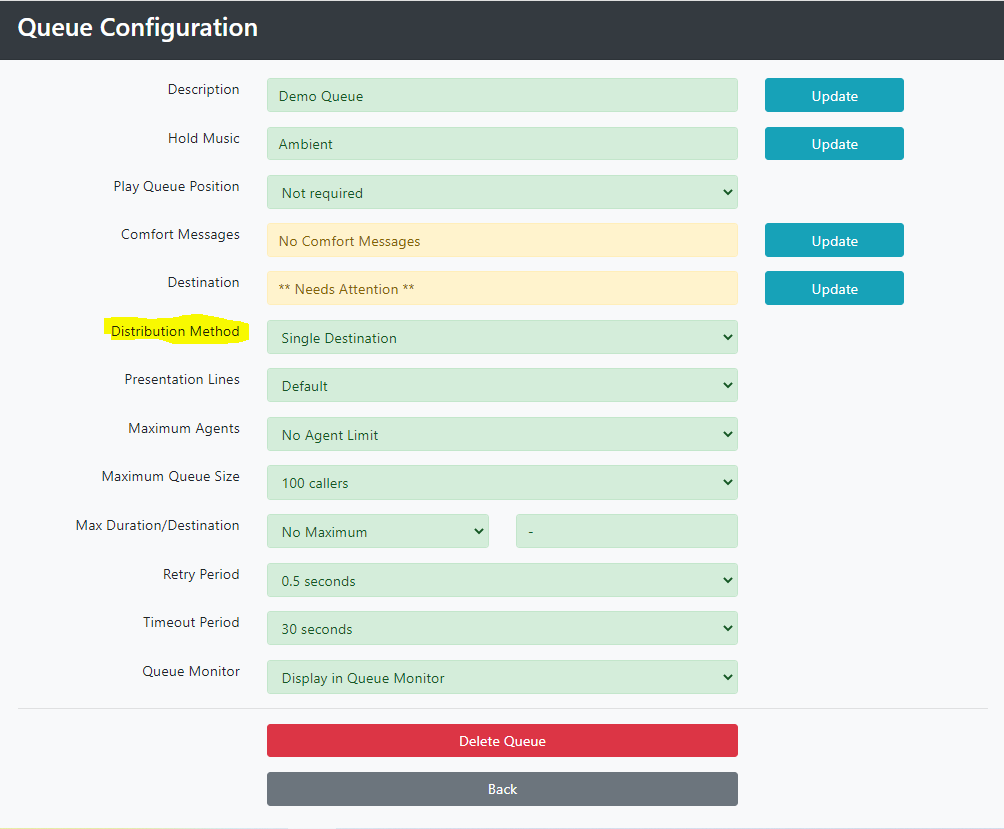
You have four options which you can select from the drop down:
- Single Destination - rings one destination.
- Linear - rings each destination in turn starting at 1.
- Cyclic - rings destination 1, then destination 2 etc
- Longest Waiting - rings the destination that has waited the longest to receive a call
- Concurrent - rings all destinations at the same time.
I have selected Cyclic as the means of distribution.
We will now add the destinations.
Click on Update next to Destination.
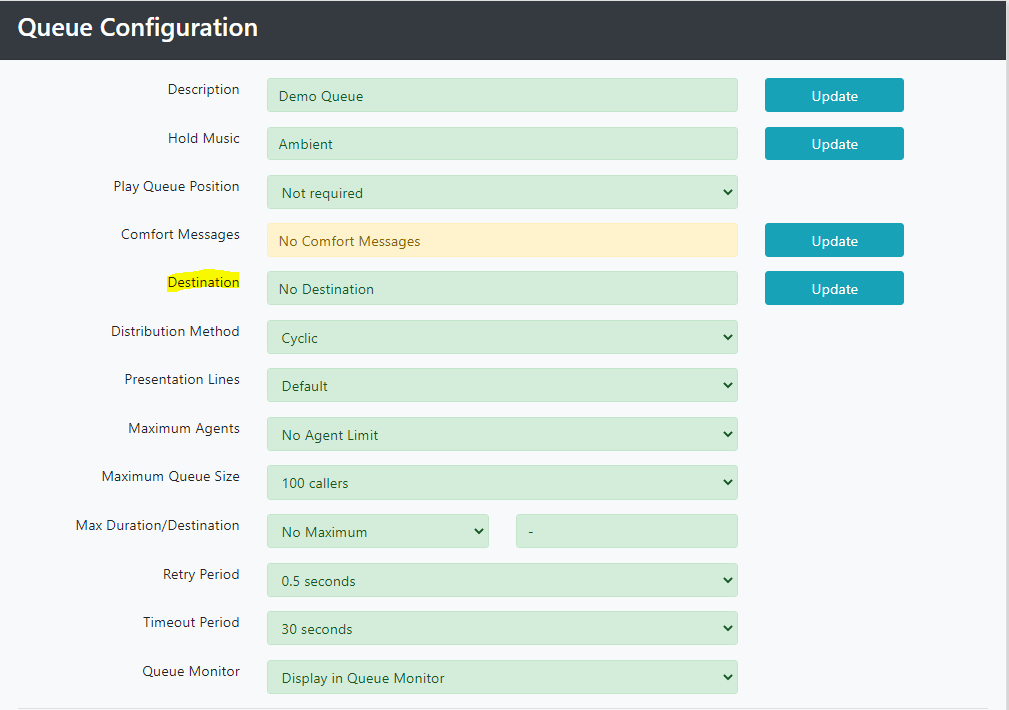
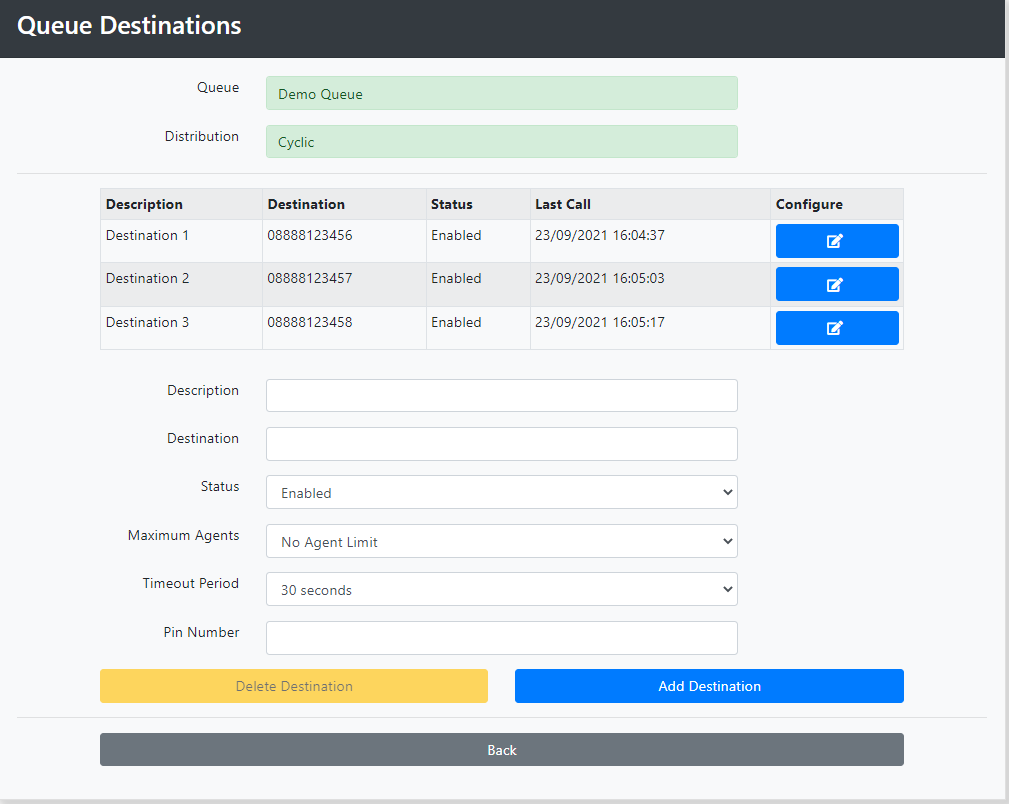
Now add the destinations, clicking save after you have entered each destination. I have added three destinations. Click Back when you have finished.
Now to complete the configuration.
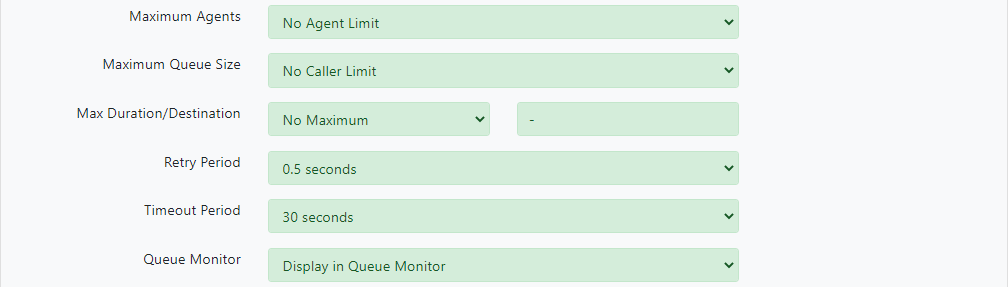
Maximum Agents enables you to set the maximum amount of Agents to receive calls - between 1 and 100, The default is No Agent Limit.
Maximum Queue size determines the maximum number of callers that will queue. This can be between 10 and 200 increasing in increments of 10. The default is No Agent Limit.
Max Duration/Destination this determines the maximum duration for the Queue. The default is No Maximum. If you select a value from the drop down you can add a destination to send the call to. This can be a single number or another queue.
Retry Period determines the number of retry per destination.
Timeout period is the duration of the queue the call either disconnects or goes to voicemail. The value is between 10 seconds and 300 seconds increasing in 10 second increments.
Queue Monitor - if Display in Queue Monitor is selected the queues can be viewed in the Queue Monitor available on the Main Call Handling Menu.
That completes the first part of Queuing. Part 2 focuses on assigning numbers.
See Also: Queuing - Assigning Numbers