ActivePay - Customer Database API

This user guide will help you to add customer records using an API.
Login to your Active Inbound Account and Select Card Payment Processing, then select Admin Tools from the drop down.
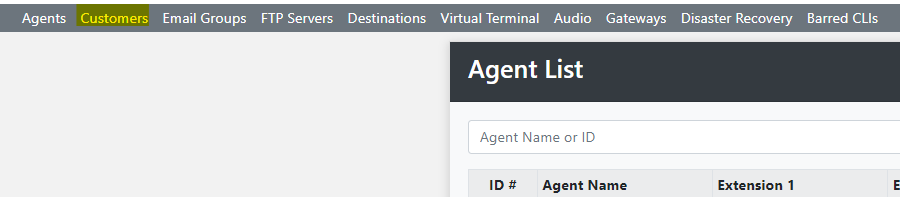
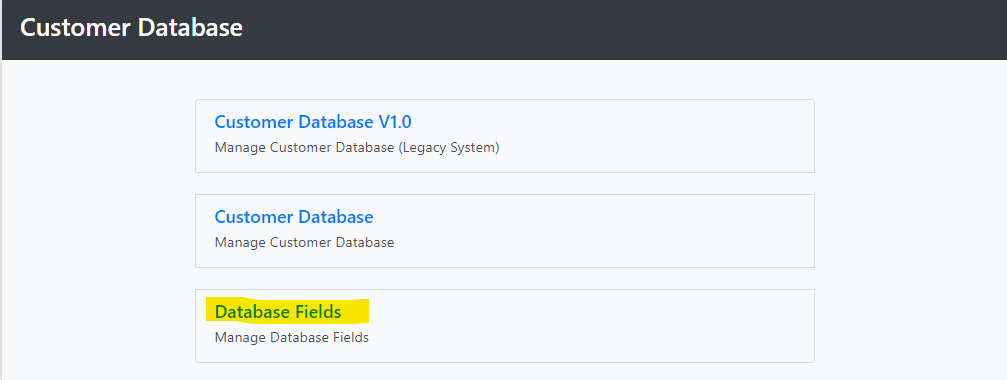
Then select Customers
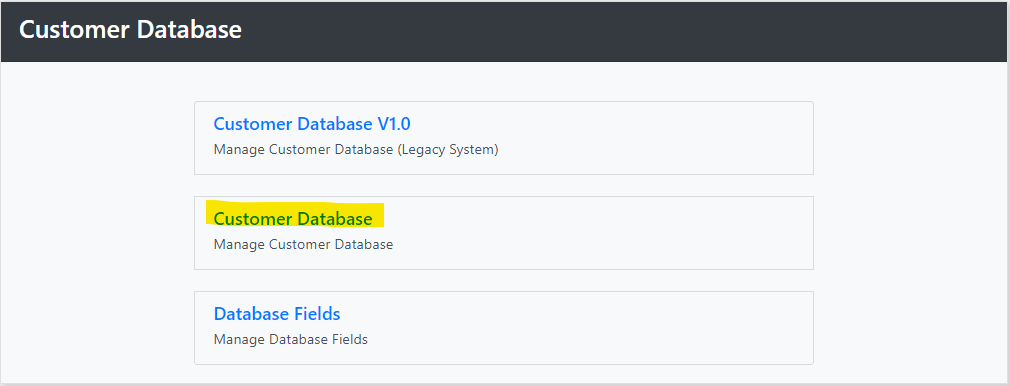
Then Select Customer Database
Enter the Database description and press Add new Database
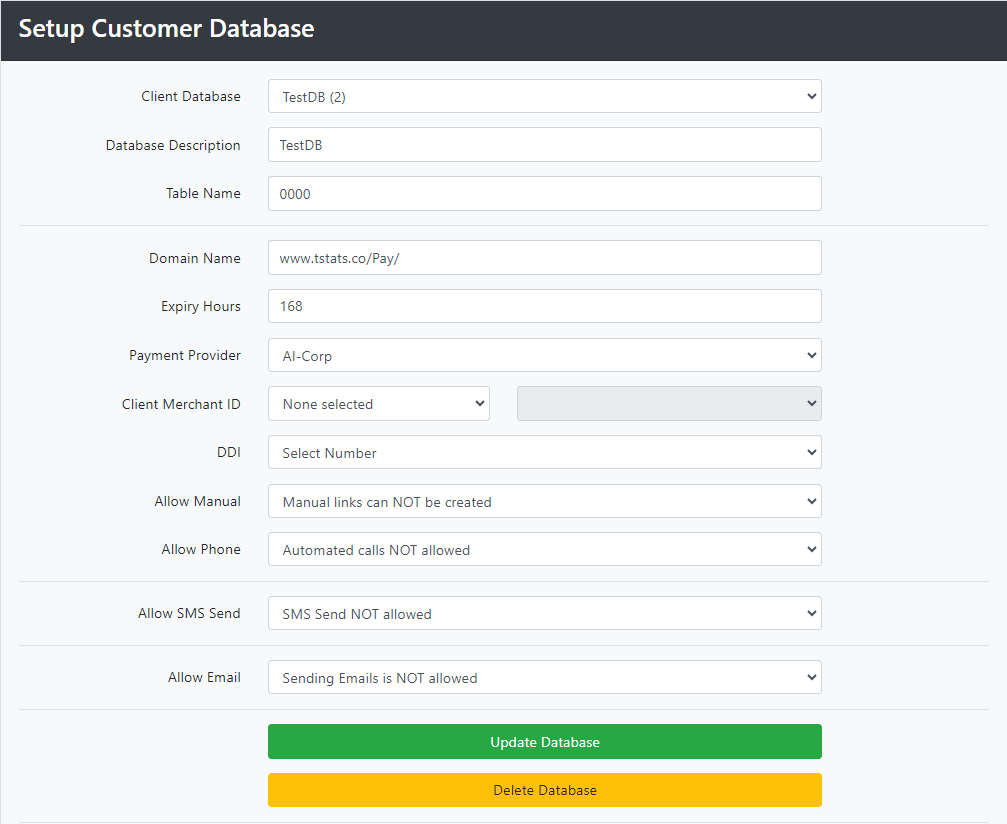
We now need to design the Database.
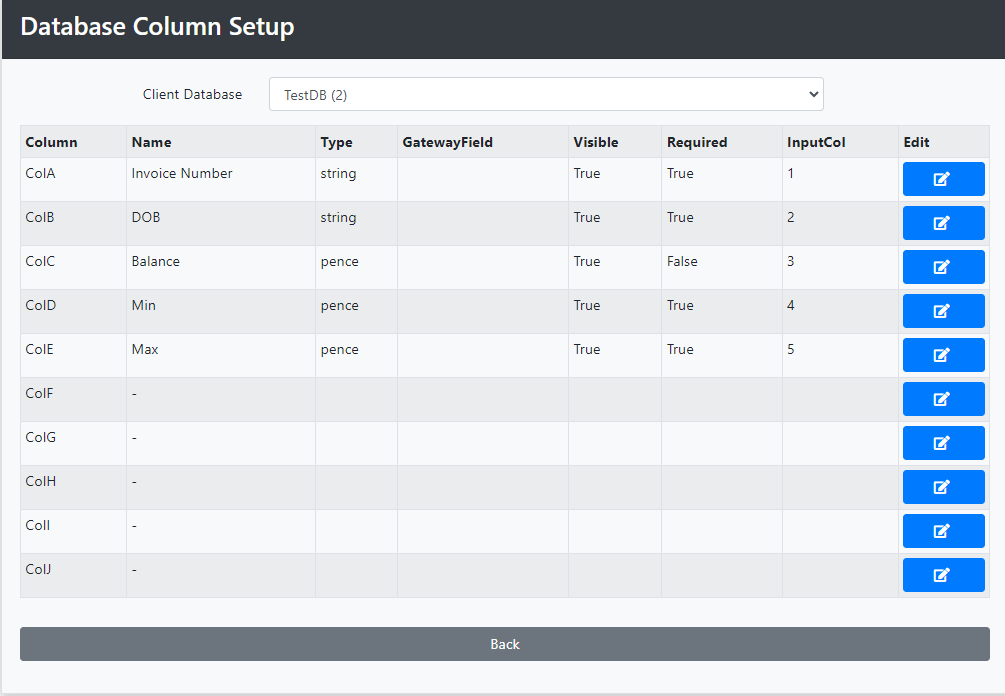
In this example we will create the following columns.
- Col1 - Invoice Number: This is the first piece of information we need to collect from the Caller. This will be a Numeric String and contain 6 digits.
- Col2 - Date of Birth: The second piece of information that we need to collect from the Caller. This will be a 8 digit numeric string.
- Col3 - Balance: The total amount owing. The format can be either £'s (£1.00) or pence (100)
- Col4 - Minimum Payment: The minimum payment allowed. The format can be either £'s (£1.00) or pence (100)
- Col5 - Maximum Payment: The maximum amount allowed - usually this is the same as the balance The format can be either £'s (£1.00) or pence (100)
Go back to the Customer Tab, and select Database Fields.
We will now setup each column as detailed above.
Press Edit against ColA
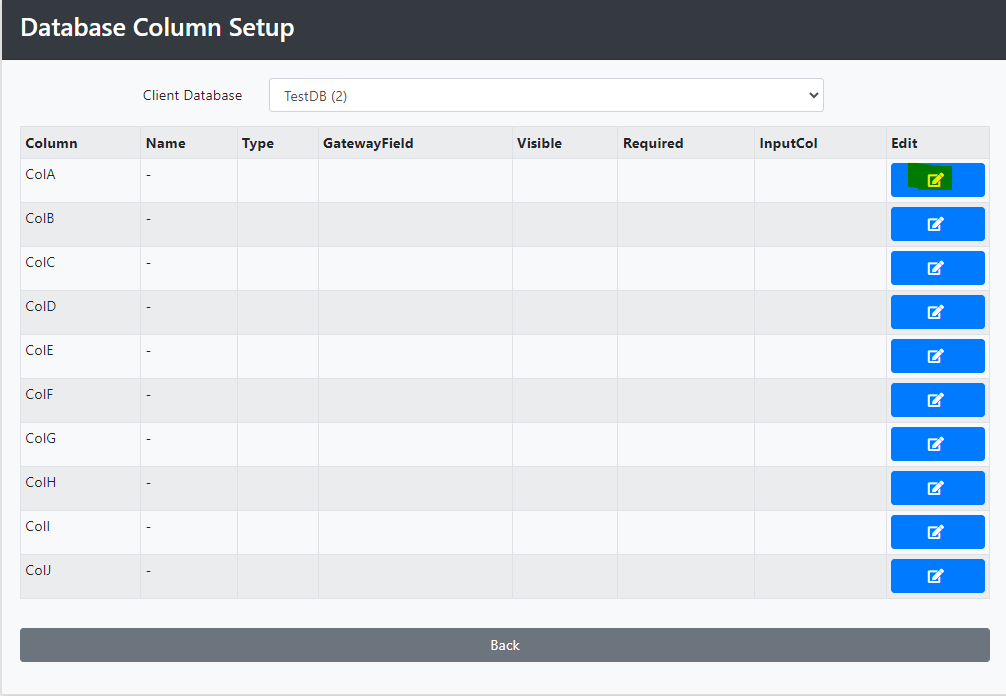
Update each field as required, starting with ColA.
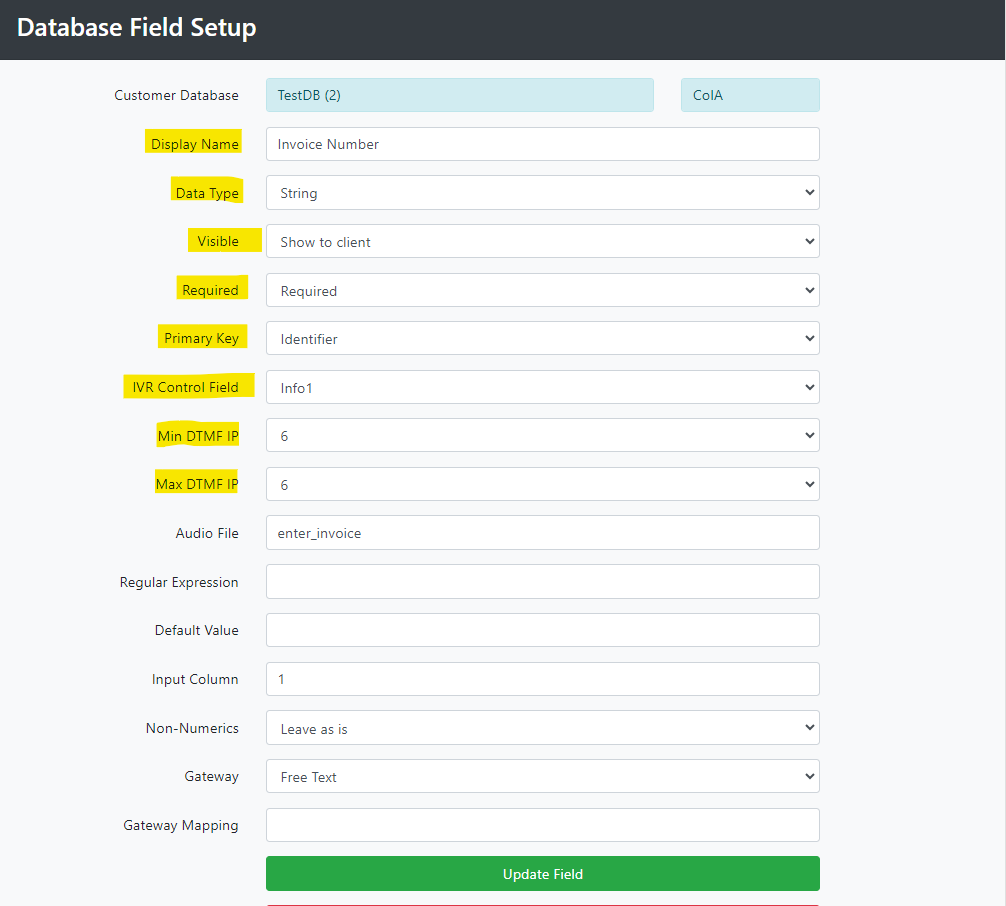
Update the highlighted fields as follows:
Display Name: Enter the name of the field
Data Type: Select from the Drop Down
Visible: From the drop down select either Show to Client or Hide from Client.
Required: Select either Required or Optional.
Primary Key: Select Identifier or Non-Identifier.
IVR Control Field: Select from the drop down to choose the field.
Min DTMF IP: Enter the minimum input permitted
Max DTMF IP: Enter the maximum input permitted.
Select Enter Update Field when you have finished.
Repeat this process until each column is configured
3. Single or Batches
You will then need to decide if you want to upload in singles or batches.
Singles
If you are uploading singles, then the JSON should look like this –
{
"colA":"123456"
}
Batches
If you are uploading batches, then the JSON should look like this –
[{
"colA":"123456",
"colB":"123456",
"colC":"123456",
"colD":"123456",
"colE":"123456",
"colF":"123456",
"colG":"123456",
"colJ":"123456"
},
{
"colA":"123456",
"colB":"123456",
"colC":"123456",
"colD":"123456",
"colE":"123456",
"colF":"123456",
"colG":"123456",
"colJ":"123456"
}]
4. Generating the hash
Use the JSON string to generate the hash. Here is an example –
private static string GenerateHash(int clientId, int dbid, String password, String data)
{
    var plainData = Encoding.UTF8.GetBytes(cid.ToString() + dbid.ToString() + password + PostData));
    HashAlgorithm sha = new SHA512Managed();
    var hashedData = sha.ComputeHash(plainData);
    return HttpServerUtility.UrlTokenEncode(hashedData);
}
In c# you will need to remove the @ line feeds when generating the hash using the below. Converting to JSON and then back to string.
string PostData = JsonConvert.SerializeObject(JsonConvert.DeserializeObject(@"<body>;
5. Building the URL
To build the URL you will need to know the following information –
Client ID
Database ID
The hash you have just generated
The URL should look like this –
https://api.pay-tel.co.uk/cppdb/api/database?cid=XXXX&dbid=XX&Hash=[The generated Hash from above]
6. POST
The body of the POST payload will be of type “Application/Json” and will contain the JSON generated in the steps above.
There is no http auth.
7. Error and response meanings
You may receive the following error and response codes –
Invalid clientid
Invalid database ID
Invalid hash
The response will contain counts of rows affected and any invalid entries.